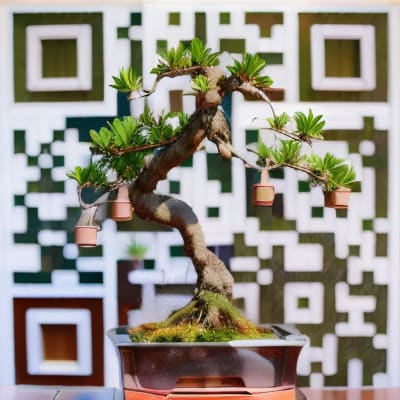
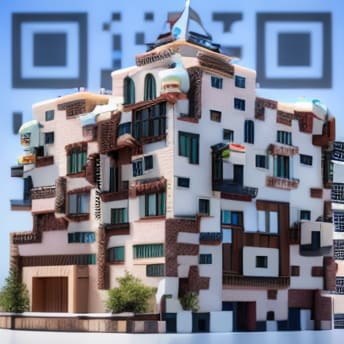
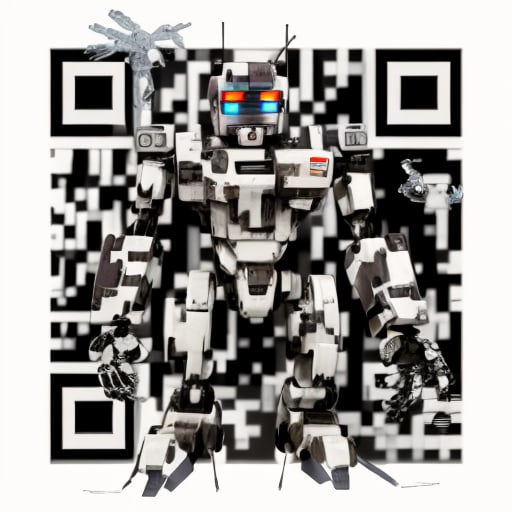
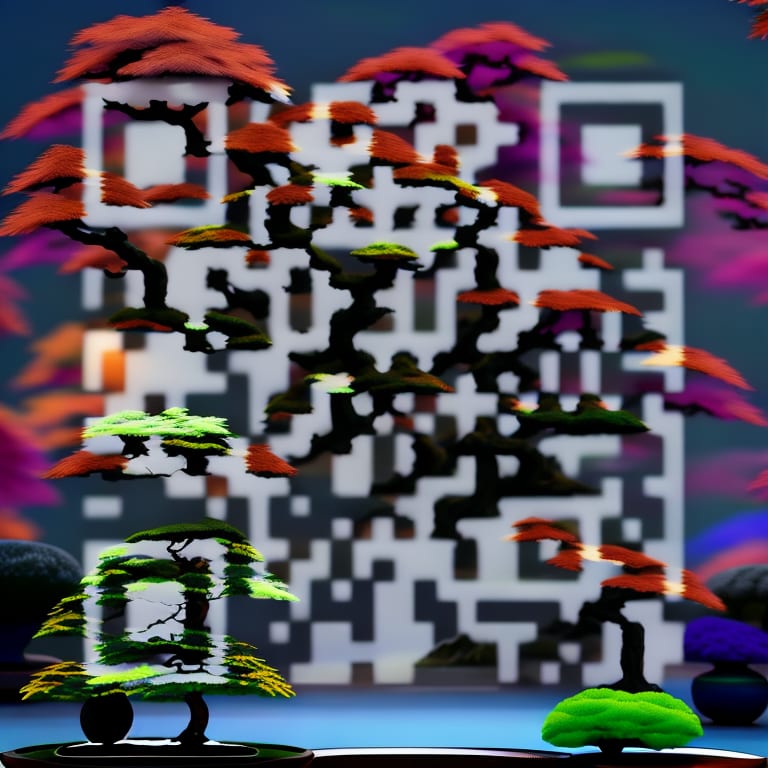
您上个月可能知道,人们热衷于生成稳定扩散的QR代码。
实际上,我尝试使用Automatic1111生成一些QR码。
这很有趣,但与此同时,这很难
然后我找到了一种有趣的模态,用于在拥抱脸上生成QR码。
https://huggingface.co/DionTimmer/controlnet_qrcode-control_v1p_sd15
在这篇文章中,我将介绍一种使用ControlNet_qrcode-control_v1p_sd15和v2_1的QR代码的方法。
这篇文章将使用Google Colab(免费计划)。
生成QR代码
首先,我们需要生成QR代码。
您可以使用Python软件包生成QR代码(我需要在需要创建多个QR码时使用它)。
但是对于这种情况,我们不需要创建许多QR码,因此我建议您使用此码,https://keremerkan.net/qr-code-and-2d-code-generator/
安装软件包
!pip install diffusers transformers accelerate torch xformers
导入软件包
import torch
from PIL import Image
from diffusers import StableDiffusionControlNetImg2ImgPipeline, ControlNetModel, DDIMScheduler
from diffusers.utils import load_image
负载Pre_trainned模型controlnet_qrcode-control和stable diffusion模型
如果您想尝试V1.5,请评论底部2行,然后从v1.5的行中删除评论。
# v1.5
# controlnet = ControlNetModel.from_pretrained("DionTimmer/controlnet_qrcodecode-control_v1p_sd15", torch_dtype=torch.float16)
# pipe = StableDiffusionControlNetImg2ImgPipeline.from_pretrained("runwayml/stable-diffusion-v1-5", controlnet=controlnet, safety_checker=None, torch_dtype=torch.float16)

# v2.1
controlnet = ControlNetModel.from_pretrained("DionTimmer/controlnet_qrcode-control_v11p_sd21", torch_dtype=torch.float16)
pipe = StableDiffusionControlNetImg2ImgPipeline.from_pretrained("stabilityai/stable-diffusion-2-1", controlnet=controlnet, safety_checker=None, torch_dtype=torch.float16)

pipe.enable_xformers_memory_efficient_attention()
pipe.scheduler = DDIMScheduler.from_config(pipe.scheduler.config)
pipe.enable_model_cpu_offload()
生成QR代码
在此步骤中,您需要做的是以下内容。
- 将生成的QR代码上传到Google Colab文件夹
- 获取源图像 /源图像URL如果您想要在某个地方上传的图像,则可以直接使用图像URL,该图像必须是正方形的。 图像必须是正方形的。
- 设置提示和负面提示
- 跑步(将需要1-2分钟)
def resize_image(input_image: Image, resolution: int):
  input_image = input_image.convert("RGB")
  W, H = input_image.size
  k = float(resolution) / min(H, W)
  H *= k
  W *= k
  H = int(round(H / 64.0)) * 64
  W = int(round(W / 64.0)) * 64
  img = input_image.resize((W, H), resample=Image.LANCZOS)
  return img

orriginal_qr_code_image = load_image('/content/code_with_block.png')
# img_path = 'https://images.squarespace-cdn.com/content/v1/59413d96e6f2e1c6837c7ecd/1536503659130-R84NUPOY4QPQTEGCTSAI/15fe1e62172035.5a87280d713e4.png'
img_path = load_image('/content/test.png')
init_image = load_image(img_path)
condition_image = resize_image(orriginal_qr_code_image, 768)
init_image = resize_image(init_image, 768)
generator = torch.manual_seed(123121231)
image = pipe(prompt="8k, 3d, ((photo-realistic)), bonsai, Japanese style",
             negative_prompt="ugly, disfigured, low quality, blurry, nsfw, worst quality, illustration, drawing",
             image=init_image,
             control_image=condition_image,
             width=768,
             height=768,
             guidance_scale=20,
             controlnet_conditioning_scale=2.5,
             generator=generator,
             strength=0.9,
             num_inference_steps=150,
            )

image.images[0]
Google Colab代码
https://colab.research.google.com/drive/1D2V-5hebvOeHJOOK19l0Bujqh4MlcLTl?usp=sharing
现在,我正在尝试Gradio为上述脚本添加UI。


