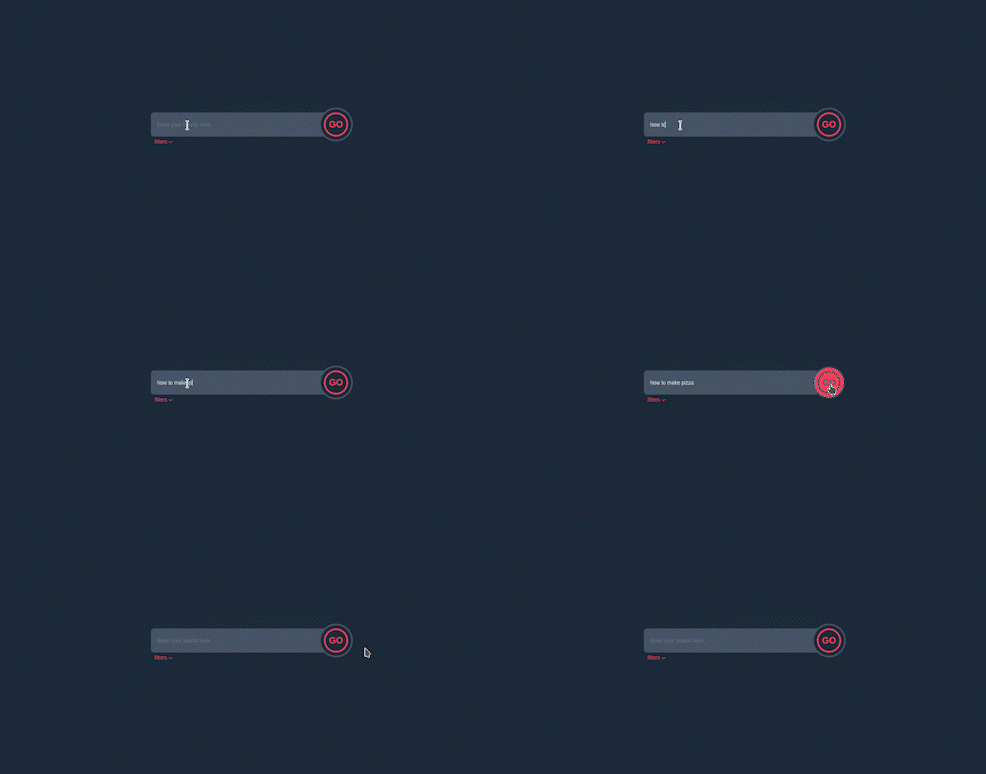
a 搜索框,搜索字段或搜索栏是计算机程序中使用的图形控制元素,例如文件管理器或Web浏览器,在网站上。搜索框通常是单行文本框或搜索图标(将在单击活动上转换为搜索框),其专用功能是在数据库中接受要搜索的用户输入。网页上的搜索框通常用于允许用户输入查询以提交到Web搜索引擎服务器端脚本,其中查询包含一个或多个用户关键字研究的条目。
搜索框通常伴随着搜索按钮(有时仅由放大镜符号表示)以提交搜索。但是,可以省略搜索按钮,因为用户可以按Enter键提交搜索,或者可以自动发送搜索以向用户提供实时结果。
我们将构建这个非常有用的组件,以便您可以将其包含在下一个应用程序,项目甚至投资组合网站中。
了解任务
如前所述,搜索框或搜索栏只是一行或组件结构,用于轻松在大型集合或表中找到我们所需的文档,文件或项目。描述很简单,我们的代码也将是。
让我们直接潜水
代码结构
我们可以构造我们的代码
<body>

 <div>
  <div>
        <!--
                Content Goes Here

        -->

  </div>
 </div>

</body>
对我们代码的结构的样子有清晰的了解,让我们构建此搜索栏。
搜索栏
我们将使用表单元素来构建代码
我们的代码看起来像这样
<form class="relative flex items-centers justify-center">
                    <!-- Input Field-->
     <input type="text" id="search" placeholder="Enter your search here" class="border-0 focus:ring-0 focus:outline-0 w-[60%] bg-slate-600 rounded-l-lg pl-4 text-sm text-slate-200">
                    <!-- Submit Button -->
       <button class="ring-4 ring-slate-600 ring-offset-[0.55rem] shadow-transparent ring-offset-slate-800 hover:ring-offset-rose-500  hover:bg-rose-500 bg-transparent rounded-[50%] active:scale-95 cursor-pointer">
         <h2 class="rounded-full border-4 border-rose-500 w-16 h-16  text-rose-500 text-2xl text-center justify-center flex items-center font-semibold hover:border-slate-600 hover:text-slate-600">GO</h2>
      </button>
                    <!-- Filter -->
      <div class="absolute -bottom-8 left-[17%] text-sm flex border-0 focus:outline-0 focus:ring-0 text-rose-500 mt-1 cursor-pointer">
             <h2>filters</h2>
             <div class="text-lg">
          <iconify-icon icon="material-symbols:keyboard-arrow-down-rounded"></iconify-icon>
            </div>
     </div>
</form>
因此,我们的搜索栏整体由输入字段,提交按钮和一个过滤器选项组成。
让我们关注主要部分,即输入字段和提交按钮。
到输入字段,我们使用border-0 focus:ring-0 focus:outline-0删除所有默认样式。此外,我们给了它的宽度w-[60%],bg-slate-600的背景色(bg-slate-600的背景色),即rounded-l-lg的边界启动 - 启动-radius,我们将输入文本推到了pl-4的填充物上,然后将输入文本推入,并将其推向。我们使用text-sm的字体大小和文本颜色text-slate-200.
使它变得更小
                    <!-- Input Field-->
     <input type="text" id="search" placeholder="Enter your search here" class="border-0 focus:ring-0 focus:outline-0 w-[60%] bg-slate-600 rounded-l-lg pl-4 text-sm text-slate-200">
到“提交”按钮,我们以两层形式做到了,第一个是提交按钮本身,内部层是H2元素。这只是给出双圆效果,因此纯粹是装饰性的。
                    <!-- Submit Button -->
       <button class="ring-4 ring-slate-600 ring-offset-[0.55rem] shadow-transparent ring-offset-slate-800 hover:ring-offset-rose-500  hover:bg-rose-500 bg-transparent rounded-[50%] active:scale-95 cursor-pointer">
         <h2 class="rounded-full border-4 border-rose-500 w-16 h-16  text-rose-500 text-2xl text-center justify-center flex items-center font-semibold hover:border-slate-600 hover:text-slate-600">GO</h2>
      </button>
到内层,这是H2标签,我们给了一些不错的样式,这是圆形的边界 - 长袍,分别是h-16和w-16的高度和宽度,是text-2xl的字体大小,是一种颜色text-rose-600,border-4 border-rose-500的边界宽度和颜色。我们将文本中心化,使该元素使用flex justify-center items-center为Flexbox。另外,在悬停的情况下,边框彩色更改为border-slate-600,文本颜色为text-slate-600
现在,向外移动到按钮本身,我们给了它的环-4环式式环-600的戒指颜色,我们还给了它一个ring-offset-[0.55rem]。在悬停的情况下,背景色从bg-transparent变为bg-rose-500
我们可以说这两个。
形式元素容器这两个零件被制成一个flexbox并被居中。
对于过滤器选项,虽然是可选的,但让我们谈谈其样式,
                    <!-- Filter -->
      <div class="absolute -bottom-8 left-[17%] text-sm flex border-0 focus:outline-0 focus:ring-0 text-rose-500 mt-1 cursor-pointer">
             <h2>filters</h2>
             <div class="text-lg">
          <iconify-icon icon="material-symbols:keyboard-arrow-down-rounded"></iconify-icon>
            </div>
     </div>
它绝对放置在父容器上,并放置在使用-bottom-8 and left-[17%]的位置,该图标使用来自iconify
就是这样。
整个代码看起来像这样
<body class="bg-slate-800 flex items-center justify-center min-h-screen [&_*]:transition-all [&_*]:ease-linear [&_*]:duration-150">
    <div class="w-full max-w-3xl">
        <div>
            <form class="relative flex items-centers justify-center">
                <input type="text" id="search" placeholder="Enter your search here" class="border-0 focus:ring-0 focus:outline-0 w-[60%] bg-slate-600 rounded-l-lg pl-4 text-sm text-slate-200">
                <button class="ring-4 ring-slate-600 ring-offset-[0.55rem] shadow-transparent ring-offset-slate-800 hover:ring-offset-rose-500  hover:bg-rose-500 bg-transparent rounded-[50%] active:scale-95 cursor-pointer">
                    <h2 class="rounded-full border-4 border-rose-500 w-16 h-16  text-rose-500 text-2xl text-center justify-center flex items-center font-semibold hover:border-slate-600 hover:text-slate-600">GO</h2>
                </button>

                <div class="absolute -bottom-8 left-[17%] text-sm flex border-0 focus:outline-0 focus:ring-0 text-rose-500 mt-1 cursor-pointer">
                    <h2>filters</h2>
                    <div class="text-lg">
                        <iconify-icon icon="material-symbols:keyboard-arrow-down-rounded"></iconify-icon>
                    </div>
                </div>
            </form>
        </div>
    </div>

    <script src="https://code.iconify.design/iconify-icon/1.0.3/iconify-icon.min.js"></script>
</body>
结论
构建UI的奇妙之处在于,不仅是一种构建组件的方法。
例如,在这种情况下,我们使用了一个形式元素,其他人将使用其他方法,请随时尝试其他方式并与我们分享
您可以在Codepen上进行实时预览,也可以在GitHub上找到我们刚刚构建的代码。
如果您有任何担忧或建议,请不要犹豫将它们留在评论部分! ð
见ya! ð


